Large image files can slow down websites, take up storage space and make sharing more difficult. Reducing their size can help, but aggressive compression may introduce blur, noise or visible artifacts.
The goal is not simply to create the smallest possible file. It is to find a practical balance between file size and visual quality.
In this guide, you'll learn several ways to reduce image file size while keeping your images looking as good as possible.
1. Choose the Right Image Format
The format you choose can have a significant effect on file size.
Different formats are designed for different types of images.
JPEG (JPG)
JPEG is commonly used for photographs and images with many colors. It uses lossy compression, which means some image information is discarded to reduce file size.
PNG
PNG uses lossless compression and supports transparency. It is often useful for screenshots, logos, diagrams and graphics with sharp edges.
WebP
WebP supports both lossy and lossless compression, as well as transparency. It can provide smaller files while maintaining good visual quality.
There is no single best format for every image. Consider the image content, transparency requirements and compatibility with your intended use.
2. Resize Images to the Dimensions You Actually Need
Image dimensions are another important factor.
For example, an image that is 4000 pixels wide may be unnecessarily large when it will only appear at 1200 pixels on a website.
Reducing its dimensions can lower the number of pixels that need to be stored.
Before resizing, consider:
- Where the image will be displayed.
- The maximum width and height required.
- Whether the original aspect ratio should be preserved.
- Whether the image needs to be printed or displayed on a screen.
Avoid making an image larger than its original dimensions if preserving detail is important. Upscaling cannot recreate detail that was not present in the original.
3. Adjust Compression Settings Gradually
For formats that support lossy compression, quality settings can make a noticeable difference.
A useful approach is to:
- Start with the original image.
- Apply moderate compression.
- Compare the output with the original.
- Increase compression gradually if the file is still too large.
- Stop when further reduction causes noticeable visual damage.
Pay attention to:
- Fine details.
- Text and sharp edges.
- Color gradients.
- Skin tones.
- Small objects and textures.
Do not judge quality only from a small thumbnail. Inspect the image at its intended display size and, when necessary, at full resolution.
4. Remove Unnecessary Image Metadata
Some image files contain additional information such as camera settings, timestamps and location metadata.
This information may increase file size.
If you do not need it, removing unnecessary metadata can sometimes reduce the file size.
However, metadata can also be useful. For example, photographers may want to preserve camera information or copyright details.
Always consider what information you want to keep before removing it.
Simpixly re-encodes supported images without copying their original EXIF, GPS, IPTC or XMP metadata. There is no keep-metadata switch. Browsers may add technical encoding information, and visible personal details remain in the image. Keep your original if camera information or copyright records matter.
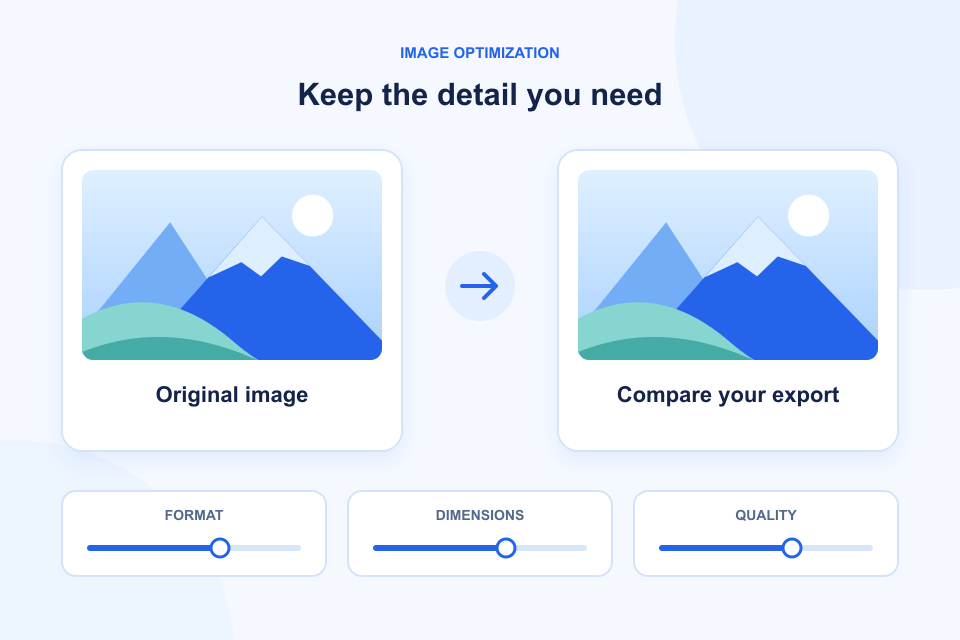
5. Compare the Original and Optimized Images
Before downloading an optimized image, check both its appearance and its actual file size.
A useful comparison includes:
- Original file size.
- Optimized file size.
- Original dimensions.
- Output dimensions.
- Visual differences.
A smaller file is not automatically a better result.
If the output looks noticeably worse, try a different format or use less aggressive compression.
6. When You Cannot Avoid Some Quality Loss
Sometimes you need to meet a strict file size requirement.
For example, an application may require an image to be smaller than a particular size.
In these cases, you may need to combine several techniques:
- Reduce image dimensions.
- Choose a more suitable format.
- Adjust compression settings.
- Remove unnecessary metadata.
If the target is extremely small, some visible quality reduction may be unavoidable.
The best result depends on the original image and the required output size.
For a strict submission limit, follow our guide to a 100 KB target. If choosing a format is the harder decision, compare JPG, PNG and WebP before exporting.
Frequently Asked Questions
Can I reduce image file size without losing quality?
Sometimes. Lossless compression can reduce file size without changing image data, but the amount of reduction depends on the original image and format. Lossy compression may produce smaller files but can reduce visual quality.
Does converting JPG to PNG make the image smaller?
Usually not. PNG is often larger than JPEG for photographs. Changing the file extension alone does not change the actual image format.
Is WebP better for reducing image size?
WebP can provide efficient compression for many types of images. However, the best format depends on image content, transparency requirements and compatibility.
Should I resize an image before compressing it?
If the original dimensions are larger than necessary, resizing first can be helpful. Choose dimensions appropriate for the intended display.
Try Simpixly Image Tools
Want to make your images smaller?
Use the Simpixly Image Compressor to optimize one supported static JPG, PNG or WebP and download the actual result. JPG and WebP have quality controls; PNG uses lossless re-encoding, so it may not become smaller.
You can also use the Image Resizer to adjust image dimensions before compression. Input is limited to one image up to 20 MB, 8192 pixels per side and 16 megapixels.